Novice meaning, I've done it three times now. I've been successful all three times tho so I guess now I can show you! I would have never had the confidence to try this if Stephanie hadn't showed me how. I'm eternally grateful!
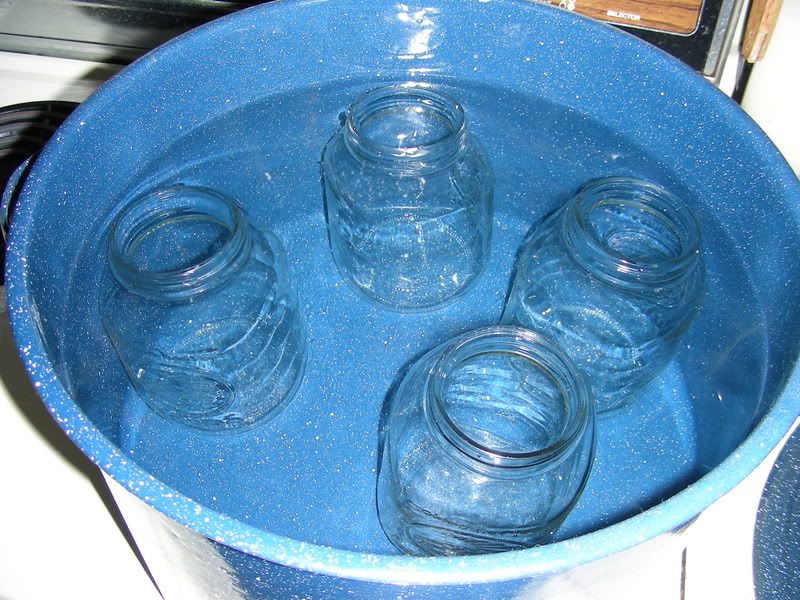
First things first. Sterilize your jars. Don't use old spaghetti jars, only use Mason jars. I guess they wouldn't tell you that if it wasn't important. Commercial jars aren't heavy enough to endure the canning process. Don't use jars with chips or even hairline cracks. This can cause all your hard work to go Kaplooey! I've been sterilizing mine in my hot water bather because it's big and deep. You can also run them through the dishwasher on the sterile cycle. Be sure to keep them really hot. This serves two purposes.
1. It keeps the jars sterile
2. It keeps the jars at the same temperature so they won't pop, explode, crack, etc.
Seals and rings. I've read and been told of 2 schools of thought here. One is to also sterilize the seals and rings the other is to just wash them in hot soapy water. I just do hot soapy water. I'm of the mind that boiling the seals would damage the integrity of the seal. The only thing you really need to know is NOT TO REUSE the seal. Rings yes, seals NO
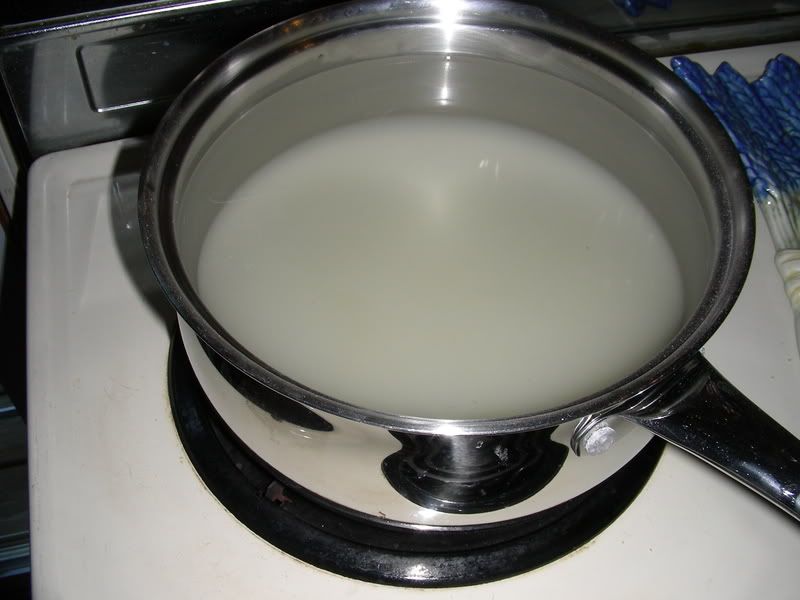
While I'm heating the water to boil the jars, I make a simple syrup because I'm canning berries today. My syrup is about 1/2 as much sugar as water. i.e. 2 cups of sugar to 4 cups of water.
By the way, what I'm doing here is called a "Raw Pack". That means I'm not cooking the berries before hand. The berries will get plenty hot during the processing.
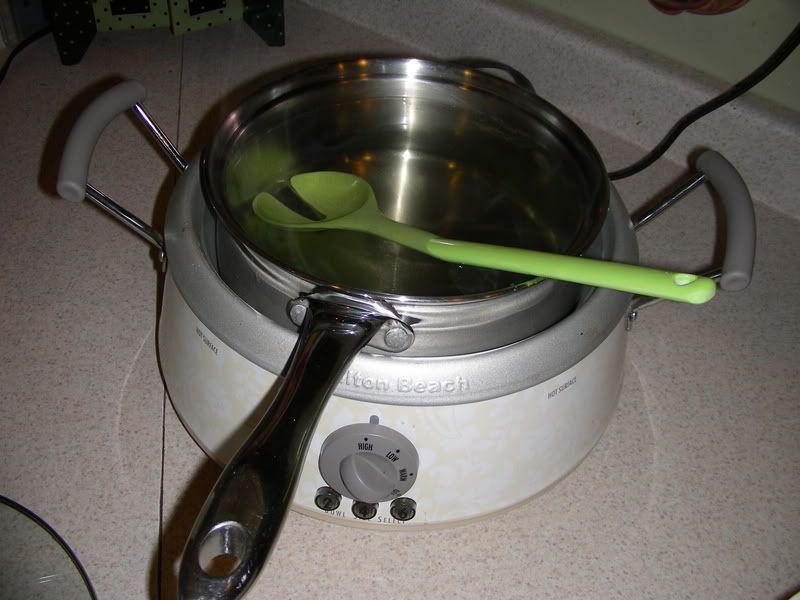
The picture below is my sauce pot setting in my crock pot base. I only have 3 burners on my stove and they're tiny at that, so I've had to get creative to have enough space. This isn't a canning step, I just thought I'd include it!
Now. While your syrup is being kept warm and your jars are boiling (for about 10 minutes) Start heating up about 3 inches of water in your pressure canner. Make sure to remember the rack that sits in the bottom. That's an important part because it keeps the jars lifted up off the bottom of the pot. The water you take the sterile jars out of and the water you put the full jars into should be roughly the same temperature. If they're both boiling,, it'll be fine. You just don't want to change to temp of the glass too often, that leads to broken glass!
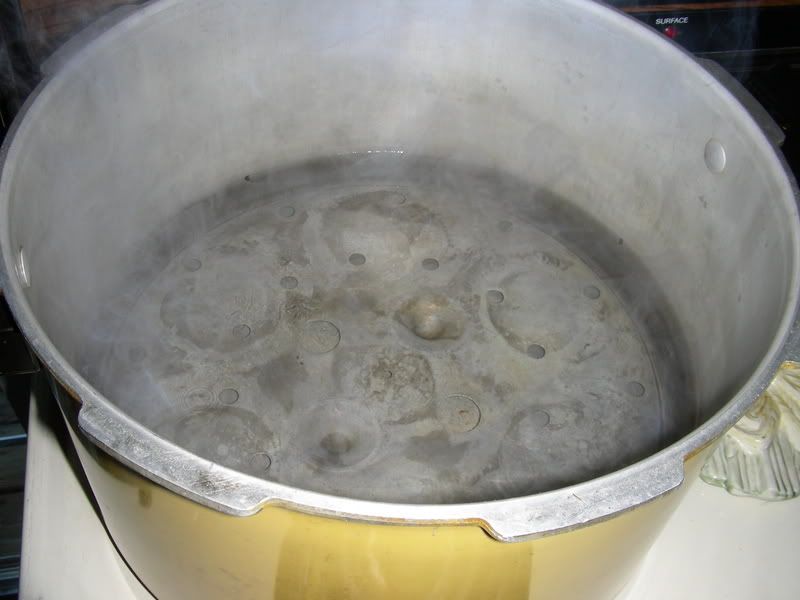
It's hard to get a decent picture of boiling water.. ya know? Also,, please excuse my ugly old canner. It's a yard sale find and it works wonderfully, what more can you ask for?
The next step doesn't have a picture but it's pretty self explanatory. Take one jar at a time out of the boiling water and set it on a clean dishtowel. Pack your berries (or beans, or whatever) into the jar, firmly but don't crush them. Fill the jar right up to the first bump on the threads of your jar. This is about 1/2 inch headspace. Next pour your simple syrup over the berries to the same 1/2 inch mark on the jar. Give your jar a little tap on the counter to make any bubbles come to the top. Arrange your seal and ring on the jar, snug but not tight. You aren't trying to seal it right now,, just keep the seal in place.
After you have all of the jars in your canner, place and lock your lid. Don't put the weight on or mess with the safety valve, just wait. Soon you will see a nice steady plume of steam come up out of your valve stem. See? Kinda like this
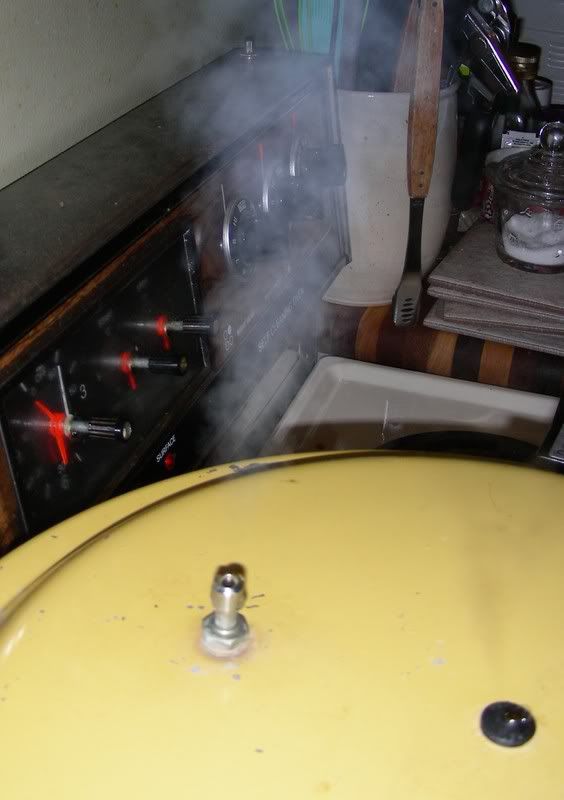
When you do, plop the weight on. Shortly after you put the weight on the stem, you will see the safety valve pop up. That's good! You can see mine in the upright position here in this picture.
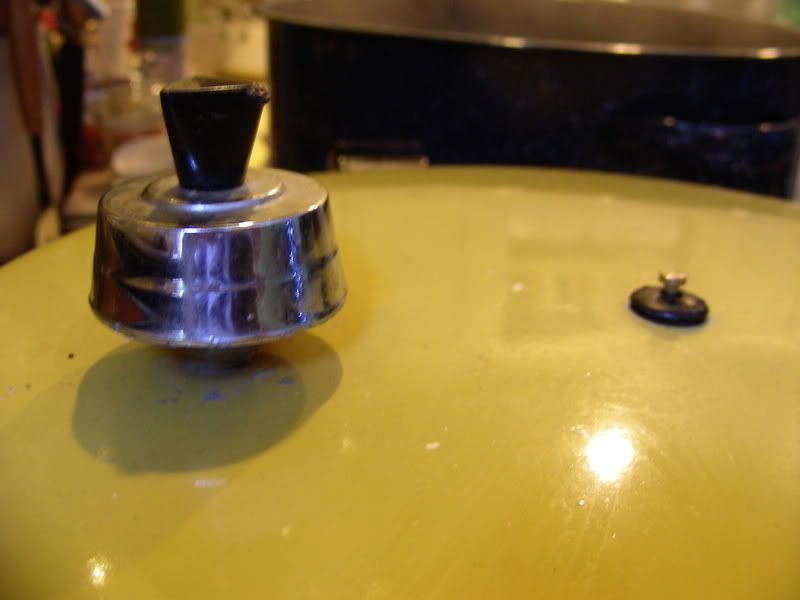
When that happens, it's time to start watching your gauge. Now I didn't take a picture of my gauge. I should have,, I'm sorry! But,, watch it carefully until it reaches the correct pressure for the recipe you are using. Your recipe should tell you, don't worry! Mine was 11lbs for 20m. You may have to tweak the temperature on your burner to keep it at the right poundage but once you get there, you should be able to leave it.
NO! Don't leave !
Keep an eye on it! I just meant you can stop messing with your temperature now!
When you've let it process as long as your recipe states turn the heat off and walk away. Don't open anything, don't move anything, don't touch the safety valve, nothin! Just sit down and have a bit of Blackberry Ripple and a cup of coffee.
When the pressure gauge says "0" and the safety valve has settled back down you may take the weight off and open the lid. Make sure to open it AWAY from you because there is still a lot of steam in there!
You can see in this picture that my safety is down and my weight is off.
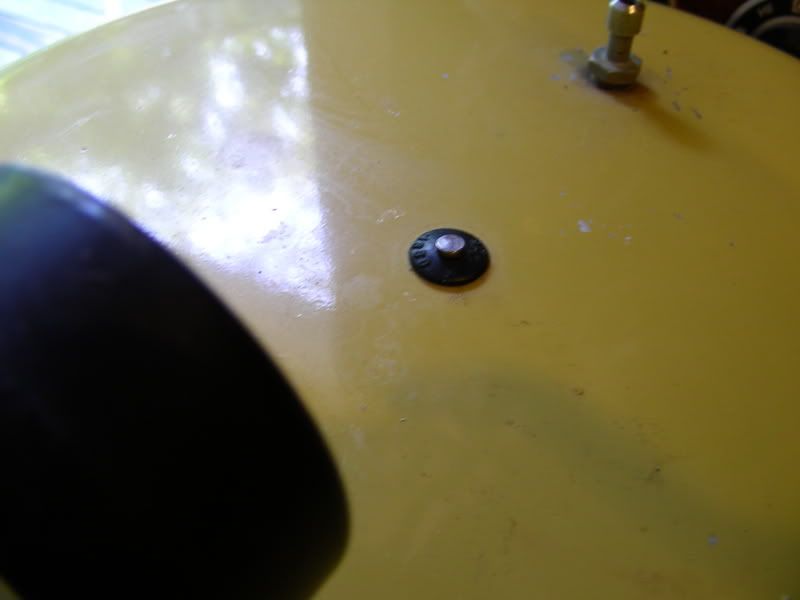
I opened it up and look! Blackberries. Yummy. Don't worry about that water being all purple,, it's normal (so I hear).

Let your jars sit another 10 minutes in the pot before you take them out. Finish your coffee and listen for the lovely "pop" that comes from successful canning!

I've also read that after 24 hours you should very gently try and test the seal and see if it's stuck. I think that if the lid popped,, it's sealed. The Ball Blue Book says that you can reprocess unsealed jars after 24 hours in fresh jars but I'd say you better eat them or make cake or something!
I hope this helps all you folks out there that don't have a "Stephanie" in your life! Thanks again Steph! We're going to eat well this winter!

While I'm heating the water to boil the jars, I make a simple syrup because I'm canning berries today. My syrup is about 1/2 as much sugar as water. i.e. 2 cups of sugar to 4 cups of water.
By the way, what I'm doing here is called a "Raw Pack". That means I'm not cooking the berries before hand. The berries will get plenty hot during the processing.

The picture below is my sauce pot setting in my crock pot base. I only have 3 burners on my stove and they're tiny at that, so I've had to get creative to have enough space. This isn't a canning step, I just thought I'd include it!

Now. While your syrup is being kept warm and your jars are boiling (for about 10 minutes) Start heating up about 3 inches of water in your pressure canner. Make sure to remember the rack that sits in the bottom. That's an important part because it keeps the jars lifted up off the bottom of the pot. The water you take the sterile jars out of and the water you put the full jars into should be roughly the same temperature. If they're both boiling,, it'll be fine. You just don't want to change to temp of the glass too often, that leads to broken glass!

It's hard to get a decent picture of boiling water.. ya know? Also,, please excuse my ugly old canner. It's a yard sale find and it works wonderfully, what more can you ask for?
The next step doesn't have a picture but it's pretty self explanatory. Take one jar at a time out of the boiling water and set it on a clean dishtowel. Pack your berries (or beans, or whatever) into the jar, firmly but don't crush them. Fill the jar right up to the first bump on the threads of your jar. This is about 1/2 inch headspace. Next pour your simple syrup over the berries to the same 1/2 inch mark on the jar. Give your jar a little tap on the counter to make any bubbles come to the top. Arrange your seal and ring on the jar, snug but not tight. You aren't trying to seal it right now,, just keep the seal in place.
After you have all of the jars in your canner, place and lock your lid. Don't put the weight on or mess with the safety valve, just wait. Soon you will see a nice steady plume of steam come up out of your valve stem. See? Kinda like this

When you do, plop the weight on. Shortly after you put the weight on the stem, you will see the safety valve pop up. That's good! You can see mine in the upright position here in this picture.

When that happens, it's time to start watching your gauge. Now I didn't take a picture of my gauge. I should have,, I'm sorry! But,, watch it carefully until it reaches the correct pressure for the recipe you are using. Your recipe should tell you, don't worry! Mine was 11lbs for 20m. You may have to tweak the temperature on your burner to keep it at the right poundage but once you get there, you should be able to leave it.
NO! Don't leave !
Keep an eye on it! I just meant you can stop messing with your temperature now!
When you've let it process as long as your recipe states turn the heat off and walk away. Don't open anything, don't move anything, don't touch the safety valve, nothin! Just sit down and have a bit of Blackberry Ripple and a cup of coffee.
When the pressure gauge says "0" and the safety valve has settled back down you may take the weight off and open the lid. Make sure to open it AWAY from you because there is still a lot of steam in there!
You can see in this picture that my safety is down and my weight is off.

I opened it up and look! Blackberries. Yummy. Don't worry about that water being all purple,, it's normal (so I hear).

Let your jars sit another 10 minutes in the pot before you take them out. Finish your coffee and listen for the lovely "pop" that comes from successful canning!

I've also read that after 24 hours you should very gently try and test the seal and see if it's stuck. I think that if the lid popped,, it's sealed. The Ball Blue Book says that you can reprocess unsealed jars after 24 hours in fresh jars but I'd say you better eat them or make cake or something!
I hope this helps all you folks out there that don't have a "Stephanie" in your life! Thanks again Steph! We're going to eat well this winter!
----------------------
Who doesn't need good golf shoes? I mean really,,, they're a staple right? Well, if you really do need golf shoes,, check out the worldofgolf.com!
----------------------
4 comments:
I'm so proud of you! They look great! Do you use them for pie and cobbler then?
I probably will. I wanted to make jam today but I ran out of will power and didn't want the berries to go bad!
I'm so jealous of the berries!!
I just don't think I could do the canning, I'd be so disappointed when it didn't work out right and I lost them all.
If I had a penny for every time that I ate an entire jar of canned veggies within 25 minutes of said jar being opened, I'd use the money to go buy all of the canned corn and beets for sale at the little stand outside the Chesapeake Flea Market.
Post a Comment