This still is not my favorite but it's good in a pinch and it makes up really quickly! I thought I'd show you how it's done.
Specs on the pattern pieces
Cut from poster board. This enables you to use the pieces again and again. Just trace around the pieces when placing them on your fabric.

Piece 1= 11.5 inches by 10.5 inches cut 1 of terry (mine is old ugly towel)
Piece 2= 10.5 inches by 4.5 inches cut3 of flannel (ever feel like monkeys are flying out of your butt?)
Piece 3= 10.5 inches by 4 inches cut 1 of nylon, PLU, or ripstop
Piece 4= 4.5 inches by 3 inches cut 2 flannel
A 1/2 inch seam was taken throughout (because the math was easier than 5/8ths ha ha)
Note that piece 3 and 4 are cut on the fold.


You might consider not being a complete lazy butt and ironing your pieces. It was late and my ironing board makes a horrible screach. That's my excuse and I'm sticking to it!

The zigzag isn't necessary but I think it looks nice and lays flatter.


Trimming the seams makes it lie much neater and flatter when you flip it inside out.
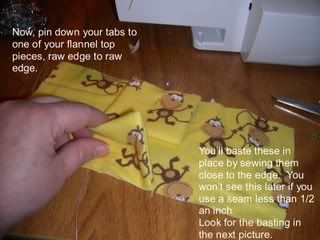

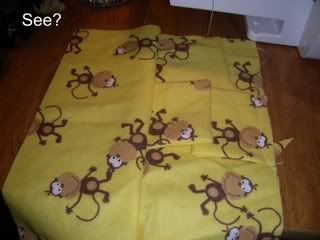
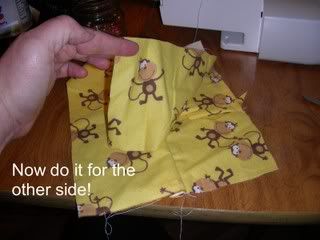
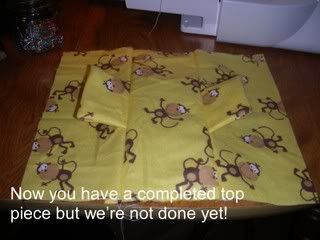
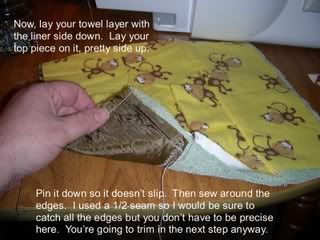

I use my zigzag stitch as close to the edge as possible. This keeps the egde from fraying. If you hate your zigzag stitch (like I did on my old machine) then consider doing a blanket stitch by hand around the outer edge. If not, you don't have to do anything at all but after a few washes you might be sorry.
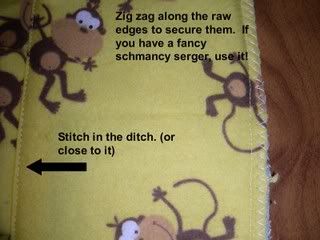
Stitching in the ditch. Basically, just stitch along your seams. This helps it fold better.
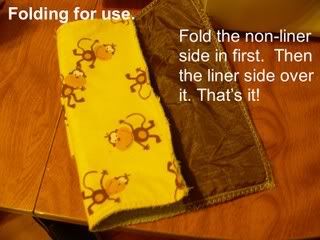
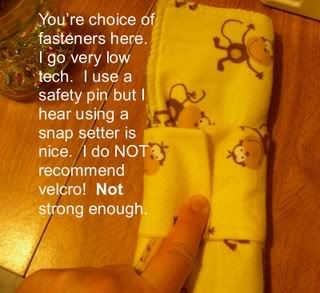
That's it!
Now I think this one is a bit bulky but it washes nicely and it dries quickly.
How ironic is it that I have include the words can crusher in today's post? tee hee.
6 comments:
Okay, do you use these for your special time? And are they leak proof?
I guess I have such an odd cycle and (TMI) lots and lots of "stuff", I use a tampon and a liner or pad, depending. I'd be more worried about stains than the money wasted on disposables, but that's me.
Very crafty and frugal of you to figure out a better way. :-)
the monkey fabric is cracking me up!
And it probably is more comfortable. I don't know if I would want to do it, but I do like knowing how just in case I ever had to.
LOL at the monkeys!
You know, those are cool, but old cloth diapers are much easier. ;) Of course, I only use them as liners though. I don't know they'd hold up to the whole shebang.
I started using resuable pads about a year ago. It was my ssiters idea and I thought she was NUTS. But I made some for her and decided to use them myself. I would NEVER go back to disposable! These are soooo much more comfortable. These cut down on odor, sweating, irritation, etc. I have never had a leak. And they are easy to deal with - toss in a tupperware dish with water, change water daily until ready to wash, toss in the machine, voila. I also carry along fresh pads in a make up bag I bought specifically for this purpose and have a ziploc or two inside for used pads. EVERYONE should try it!
Interesting article as for me. I'd like to read something more concerning this matter. Thank you for posting that info.
Sexy Lady
English escorts
Post a Comment